Single sign on - linking active directory to Clearmatch Fusion account
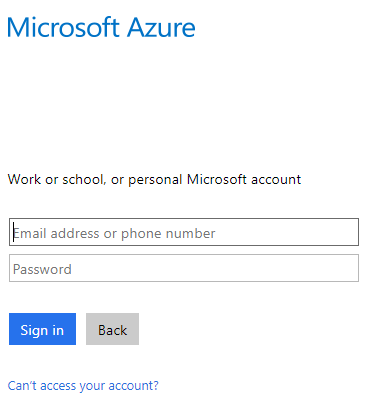
1. Log in to the Azure portal with the user account details:
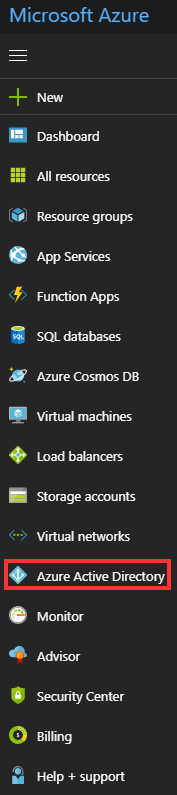
2. Select the Azure Active Directory menu option on the left hand side:
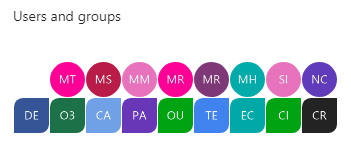
3. Look for the Users and groups widget and click anywhere on the widget itself to continue:
4. This will open the Users widget, so simply click on the ellipses icon (three dots) which will show More when hovering over it with the mouse:

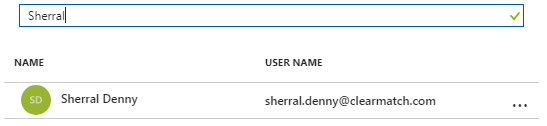
5. In the search field, type in the name of the user and once they have been found, click on their Name
or
User Name:
6. The Object ID will be displayed underneath the name that is required and that needs to be copied or take note of (best option is to copy and paste the details of the Object ID):

7. Log into Clearmatch Fusion as a user with appropriate access (namely Internal Administration):
8. Navigate to Configuration > Security:
9.Select the Users option under
User Maintenance:
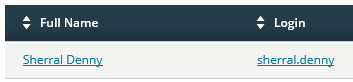
10. Find the name of the user in Clearmatch who needs to be associated with the Active Directory account (click on the hyperlink from the
Full Name
or
Login):
11. Click on the Actions Panel  > select Functions > select Add External Login:
12. Type in the name of the Provider (ask the system administrator as it is specific to your network) and the Provider Id is the Object ID taken from step 6:

Click on the  button to apply those details to the user.
Related Articles
Single sign on - logging into Fusion with your active directory account
1. Use this specific URLto log into Clearmatch Fusion NOTE: it is different to the default Fusion home page as it uses the provider which is what is setup in the section Link Active Directory to Clearmatch Fusion Account. 2. This will redirect to a ...Single sign on - possible issues
Logging in with Fusion Account Details There may be some instances where you have entered your username and password in the Fusion login page: Then once the Sign In button is pressed, you see this error message on the screen: The reason for this is ...Clearmatch Fusion sign-in
ClearMatch is for the most part written in Microsoft .Net so is therefore optimised to work with the latest version of the Microsoft browser and only up to two versions backwards. For example if the latest version of IE was 11.0, then Clearmatch ...Single sign on - adding Clearmatch Fusion URL to favourites
Internet Explorer 11 1. Open the Internet Explorer browser and navigate to the Clearmatch Fusion home page: 2. This will automatically redirect you to the login page: 3. Click on the yellow star icon (which allows you to view favourites, feeds and ...Create a personal customer in Clearmatch Fusion
In the platform, personal customers are 'people' . The reason why they are referred to as customers is to encourage all people to use the platform to borrow or invest. Customers are people, system users are people, staff members are people. So any ...