How to upload a document to document template
After creating the document template, then the next step will be to upload an actual document against the created document template. In order to do that ,
1. Navigate to Home Pages > Notification Management:
3. Using the Filter Options select the document template that you need to upload the document
4. After filtering the document template click on the link via Finance Company or Originator Group
5. Then go to Actions Menu -> Functions -> Upload Document
6. The Upload Document screen will open and a mandatory Description field will show where you can enter the details about the document that will be attached to the template:

It will then display a screen that will ask for specific details of the document.
7. The Select file has a cloud icon with an up arrow (the icon recognised as uploading) with the word Browse next to it. Click on the word Browse to continue:
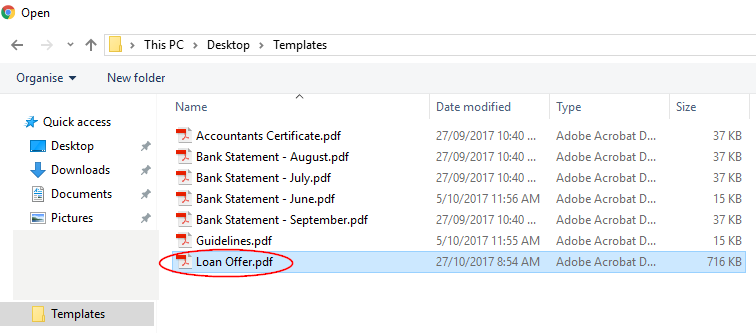
8. This will open the Windows File Explorer where you can search for the template that you would like to use:
9. To select the document to upload, simply double click on the selected file or press the  button.
10. It will then show the name of the document and the file type, directly underneath the Browse option:

11. The Description field allows you to add specific details relating to the document:
12. The File Name field is simply the name that you would like to refer to for the document (as the name may differ from the uploaded document):
13. To accept all of the details for the document, click on the  button, but if you want to go back to the Upload Documents details screen click on the
  button.
14. If the Upload option has been selected, this will then show all of the details of the document that was uploaded which include the Recorded On/By, the Description, Document Number and Download:
15. This can be viewed by selecting the Documents association tab option from the drop down list or via the quick link, if enabled:

Related Articles
Creating a PDF document template
NOTE: For this example, a free version of an online PDF editor has been used. If there is a corporate or professional edition of a PDF product e.g. Adobe Acrobat, that can also be used. Regardless of the tool the following rules apply When creating ...Application document decision tree
Once it has been identified which documents are to be used by borrowers in the “document to be supplied by borrowers” it is possible to define a decision tree that CAN be used in order to request documents from borrows based on the information they ...Converting word documents to PDF forms for document templates
Document templates can be designed in editing tools such as Microsoft word and then converted to pdf format. 1. Open the document in your preferred editing tool and remove all the variables that are enclosed within “<” “>” (including the percentage ...How to create a document template
Document templates are used as a way for customers to provide and obtain information about applications, finance agreements, listings, investments.. etc. Document templates can be defined at originator group level. Documents sent out are based on the ...Automated template configuration
The template configurations that are automated i.e. users will not manually generated the documents, that are not workflow related will be linked to a finance company through the Automated Template Configurations. Note! The actual templates will ...